 |
| 1st: Tamayorihime, White Destruction Miko |
Saturday, July 27, 2019
Sunday, July 21, 2019
WIXOSS PARTY @ Full Yen Trading (Yew Tee) 21/07/2019
Labels:
Allos Piruluk,
Key Selection,
Urith,
Winning Decklist,
WIXOSS PARTY
Wednesday, July 17, 2019
An Advanced Guide to Hanare
Written by 015 > 002
 |
| Drawn by Nozomi |
Why should you play Hanare instead of other meta decks ?
if you ever wanted to play a deck that gives you insane card advantage, the ability to board clear effortlessly, an amazing toolbox, a seemingly endless number of response, access to hand discard and most importantly, for you sadistic players out there, a deck that makes your opponent suffer and feel helpless.
All this aspects makes Hanare, one of the best deck in the current WIXOSS meta.
Now, let's get started.
Here are some sample decklists for us to analyse.
Let's get started from the LRIG deck, all decklist runs the same 9 cards:
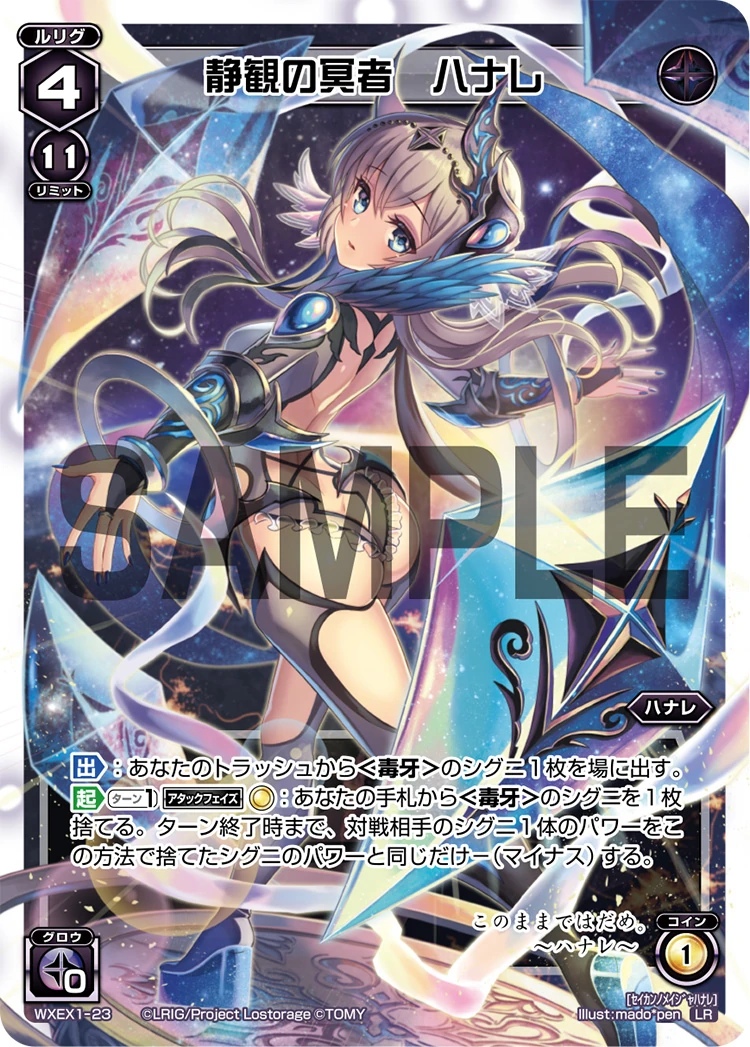
All 6 Hanare LRIGs including the new level 4 Hanare from the Unlimited Selector set, the level 5 Hanare, which makes the deck such a defensive juggernaut and shits out a whole lot of card advantage.
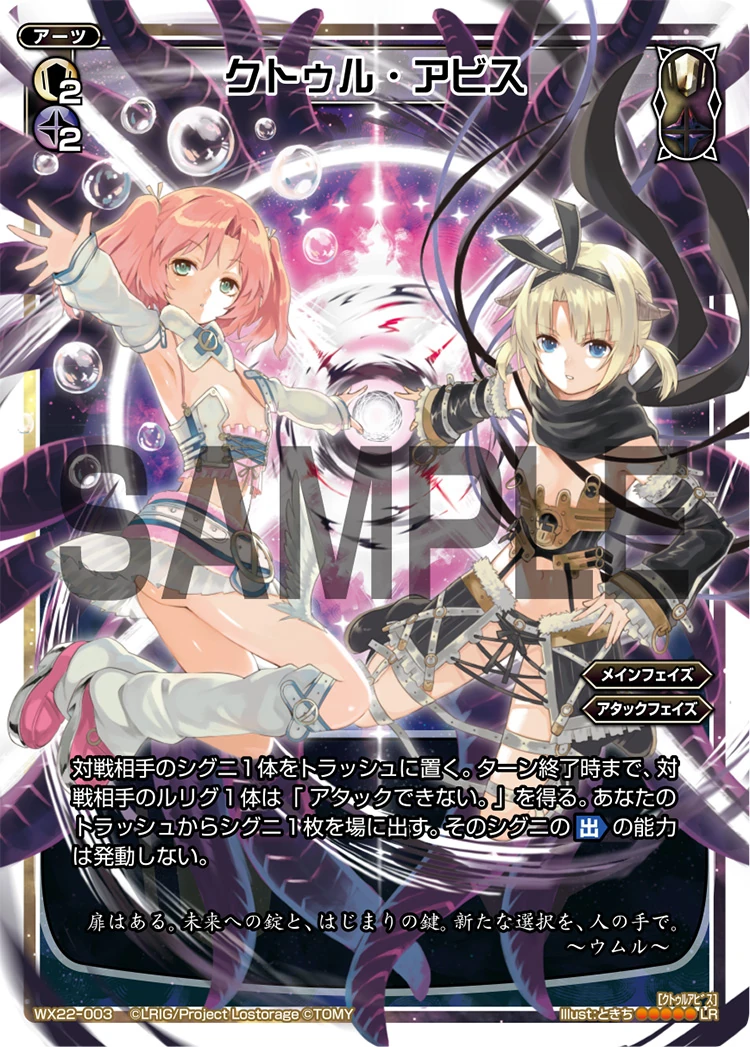
Cthulhu Abyss, the best ARTS in the game right now.
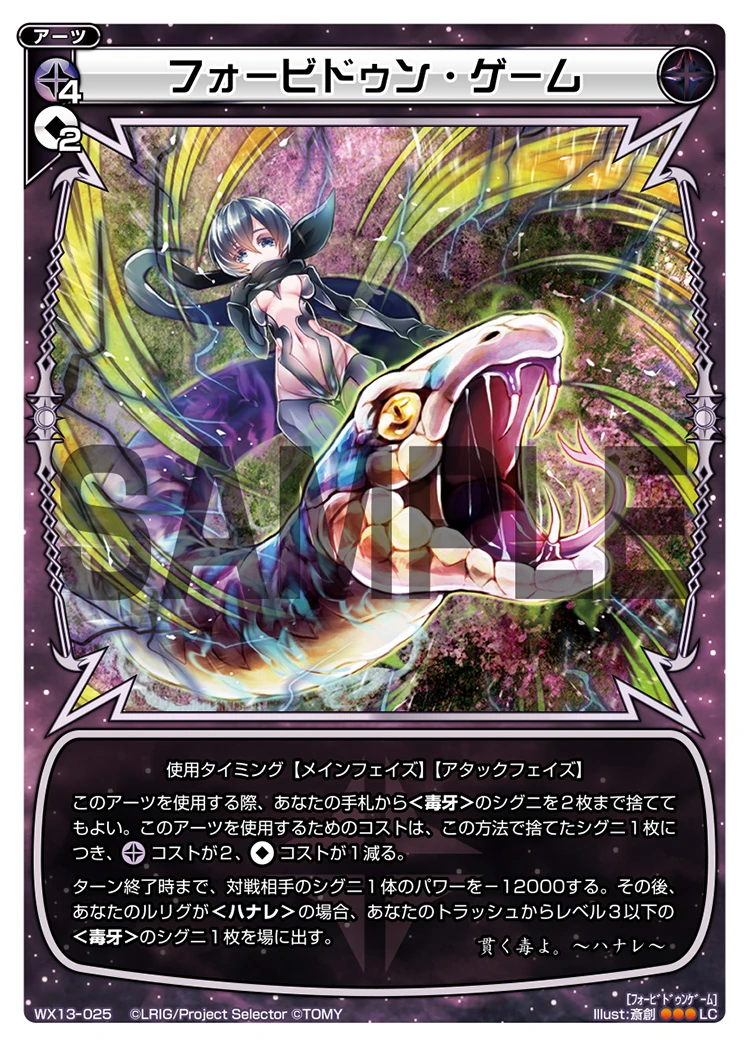
Forbidden Game, usually a costless ARTS in terms of ener cost.
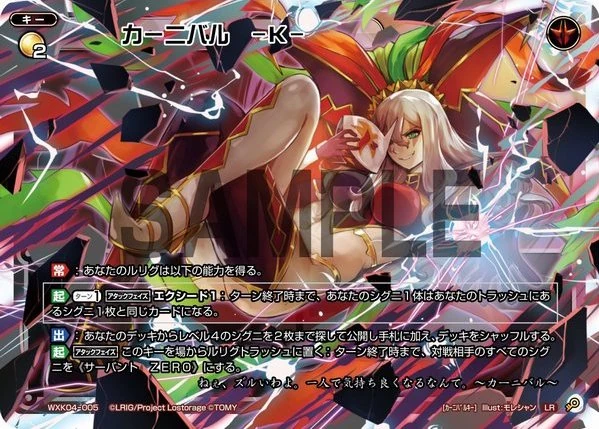
Finally, the MVP of the deck, Carnival -K-. There is a reason why this particular card is worth 10k yen right now. The 10th slot is a flexible slot for you to adjust to your local metagame. It can differ from Stirred Salvage, which allows you to re-use Cthulhu Abyss or Forbidden Game or Select Happy 5 to counter cheese decks or to kill control mirror matches (control in this case means those level 5 decks that can seemingly never run out of responses) by excluding their trash responses, therefore, limiting the number of turns that they have or even Fractal Cage, which can remove a SIGNI with full immunity, which is one of the weakness of this deck.
Looking into details
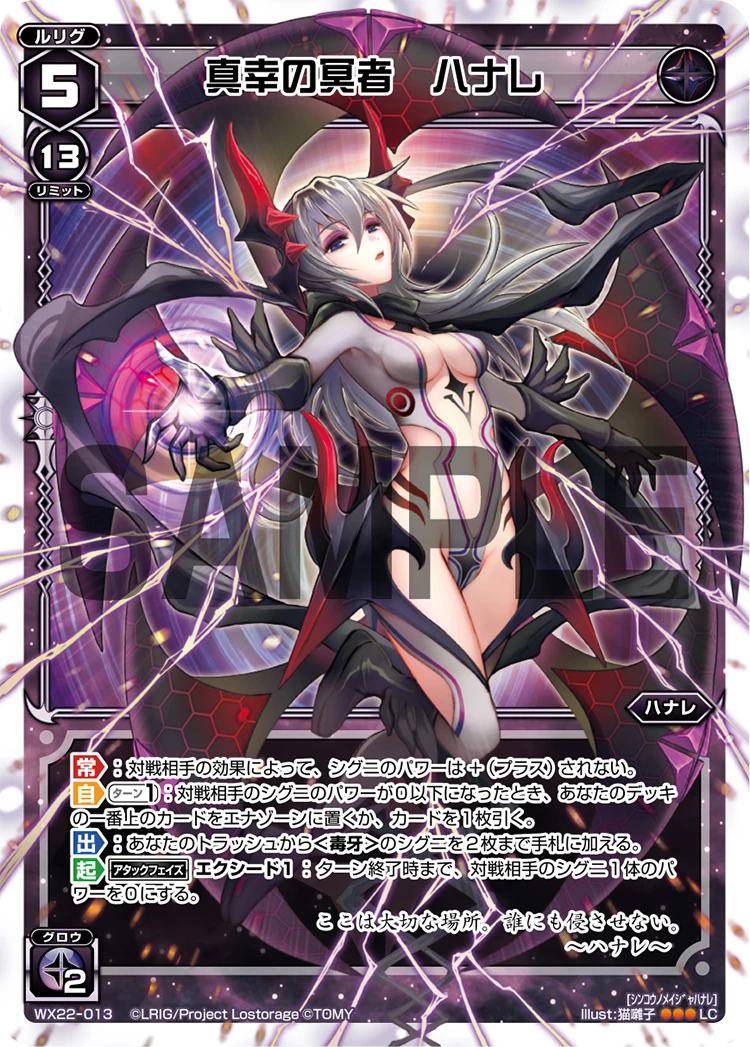
For this section, we would discuss at the two most important cards in the deck, which is Hanare, Dark One of True Happiness and Carnival -K-.
The effects of Hanare, Dark One of True Happiness reads:
(All effects taken from Wixoss Wikia)
Constant: The power of SIGNI can't be + (plus) by your opponent's effects.
Auto 1/Turn: When your opponent's SIGNI's power becomes 0 or less, put the top card of your deck into your ener zone, or draw 1 card.
On-Play: Add up to 2 <Poison Fang> SIGNI from your trash to your hand.
Action Attack Phase Exceed 1: Until end of turn, the power of 1 of your opponent's SIGNI becomes 0.
Let's start from the first constant, this means that cards such as snorop wouldn't work against you. This is huge because decks like Carnival run Snorop due to it being a near auto win against decks that don't have built-in LRIG removal, such as Nanashi, Donna and many more, requiring them to invest their ARTS or spells if they bring them in their decks to clear them. Also, this means that you don't have to bother with cards that would need to increase their power to gain advantage such as Code Order Wedding in Mel, or even Aias in Tama,
The second Auto allows Hanare to shits out a lot of card advantage, by triggering this auto during your turn and your opponent turn, it allows you to get 2 extra card draws or extra ener charges. You would want to trigger this ability every time if possible.
Thirdly, the on-play, this is a hard selective +2 to your hand and usually, you would salvage 2 of Fünf-Jörmugan if possible.
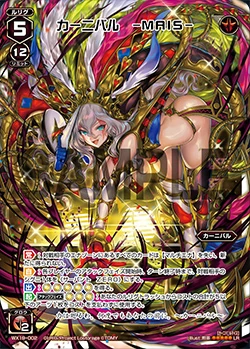
For the second card which is a key, the effects of Carnival -K- reads:
Constant: Your LRIG gains the following ability.
Action 1/Turn Attack Phase Exceed 1: Until end of turn, 1 of your SIGNI becomes the same card as 1 SIGNI in your trash.
On-Play: Search your deck for up to 2 level 4 SIGNI, reveal them, add them to your hand, and shuffle your deck.Action Attack Phase Put this key from the field into the LRIG trash: Until end of turn, all of your opponent's SIGNI become "Servant ZERO".
Wait hold on, the effect of Carnival -K-consumes exceed, which Hanare 5 effect consumes also, why would I ever want to run this card then ?
Because the Exceed 1 of Carnival -K- is infintely better than the Exceed 1 of Hanare. While Hanare can hard remove 1 of the opponent SIGNI, Carnival -K- can do the same thing while body blocking 2 other lanes with SIGNIs through Code Anti Mage and Jormugan effects. Essentially, you are responding to your opponent's entire turn with only 1 Exceed, seeing that you have 5 Exceed in total doesn't that mean you have at least 5 turns of 3 lanes defense, while not counting your ARTS and trash responses yet. Also, Carnival -K- allows you to remove SIGNIs that have LRIG immunity, which Hanare is weak against, such as Shemyaza that is ran as a 4 of in most Tawil decks.
The On-Play ability is just a cherry on top, which allows you to search for your pieces such as Daihouika and Patra, guaranteeing your level 4 turn or even searching for Guards if you need them.
The last Action ability can come in handy when you have ran out of exceed or you are facing a board with 3 on-attack banisher that you can't efficiently clear. Most of the time you won't be using this skill since your opponent would have ran out of steam and died turns before.
Let's move on to the main deck then. We would discuss 6 cards which make the cornerstone of the entire deck.
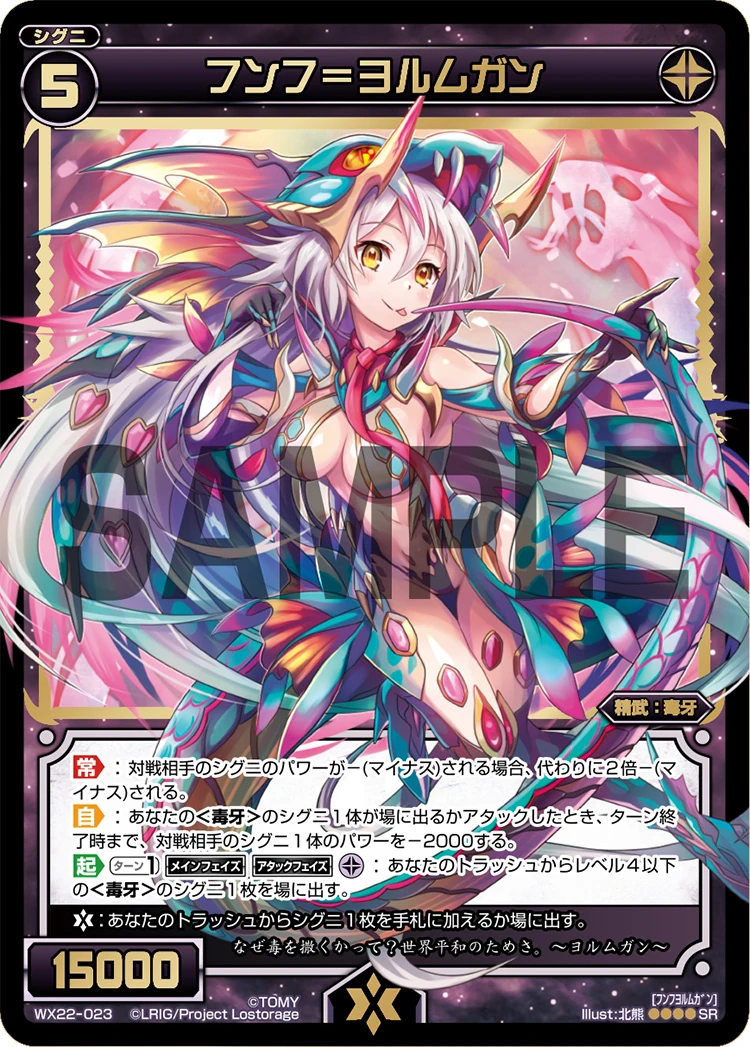
Firstly is Fünf-Jörmugan, whose effects reads:
Constant: If an opponent's SIGNI's power would be − (minus), it is − (minus) by twice that much instead.
Auto: Whenever 1 of your <Poison Fang> SIGNI enters the field or attacks, until end of turn, 1 of your opponent's SIGNI gets −2000 power.
Action 1/Turn Main Phase Attack Phase
The first constant is an insane ability that even stacks when you board 2 of her. It makes your entire SIGNI removal such as Ein-Dagger and Drei-Inusugina twice as effective, allowing you to clear those pesky 15k bodies such as Hellboros and Ra.
The second Auto, is what makes this SIGNI even more insane, it should be noted that this effect -4k instead due to her first effect. So, by just calling 3 SIGNI allows you to clear a 12k SIGNI without even spending any resources. It even triggers Hanare's Auto that generate card advantage! Clearing an entire board while plussing, tell me what other LRIG is actually capable of doing that.
The third Action makes this insanely good SIGNI even better, this allows you to toolbox during your main phase, having access to almost all the SIGNI that you run while helping with more than just board clear tasks. Want to discard hand? Just call Vier-Patra. Need more draw? Call Ein-Tetrodo instead.
What if you can do this while your opponent is attacking you ?
Well, you can toolbox and block an attack during you opponent's turn since it also has an Attack Phase skill. Combined with Code Anti Mage and Carnival -K-, you get to do this shenanigans even if your Jormugan was removed.
The second SIGNI that we would be discussing is Code Anti Mage, her effects are as follows:
Action Attack Phase
This allows you to spawn a SIGNI that blocks a lane AND MOST IMPORTANTLY, allows you to get a target for your Carnival -K- effect and stop the other 2 lane while using only 1 exceed. You can't just sniff at the recycling effect of Code Anti Mage too, if you have realized by now, the entire deck works by abusing Jormugan toolbox and board clearing effects.
This is where Hanare becomes a very challenging deck to master, if you have run out of Jormugan to call to the field, you basically have one or two dead turns, which may lose you the game. Therefore, Code Anti Mage allows you to recycle your Jormugan to deck, alongside Daihouika, which keeps your deck still having threats even after turns into the game.
Also if you are able to stop a lane just by using Code Anti Mage ability, you are not spending any defensive resources as Code Anti Mage is recyclable.
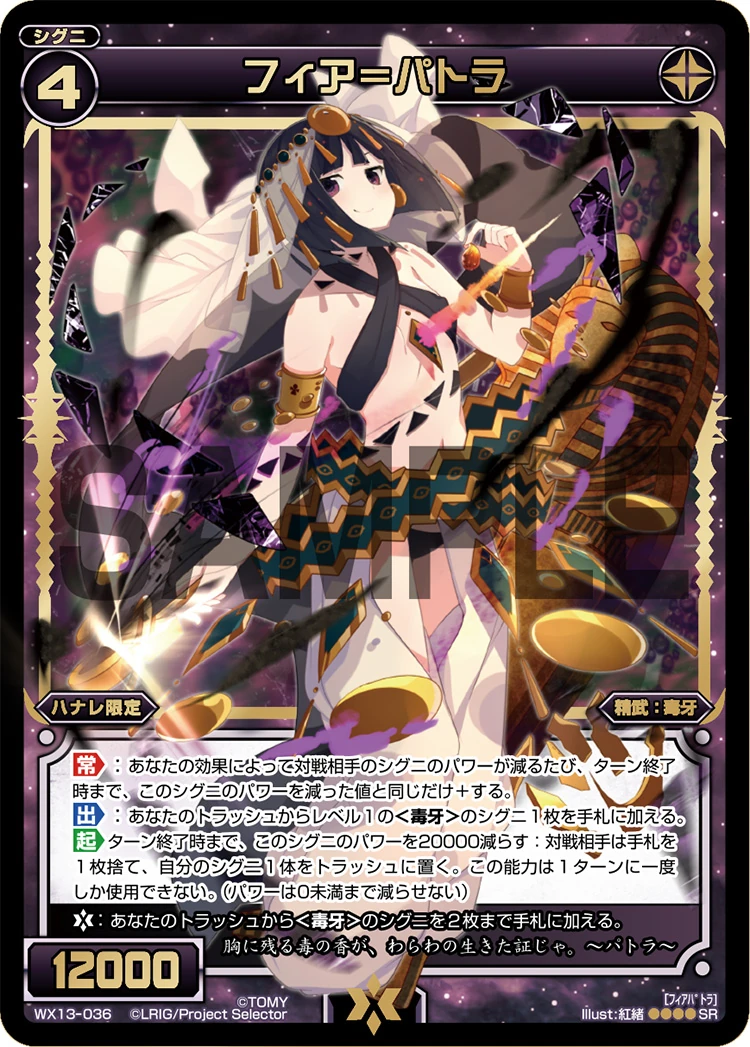
The third SIGNI is Vier-Patra and her effects are as follows:
On-Play: Add 1 level 1 <Poison Fang> SIGNI from your trash to your hand.
Action Until end of turn, decrease this SIGNI's power by 20000: Your opponent discards 1 card from their hand, then puts 1 of their SIGNI into the trash. This ability can only be used once per turn. (Power can't be decreased to less than 0.)
Her main usage is to salvage a level 1 SIGNI which usually is Ein-Dagger to chain into more removal, or Ein-Tetrodo for more draws. What makes Patra scary though is the combination of both constant and action. By setting her power to exactly 20k you can banish her while forcing to your opponent to discard a card from their hand and trashing one of their signi, which is less important.
The banish means that you have a net +1 ener and also, you can call her again using Jormugan Action skill and making your opponent discard more cards from their hand. This effect alone can win you certain matchups since some LRIGs usually plays with 3 cards or less in their hand, hence, forcing them to discard key cards can be game winning.
This hand discards combined with the board clear makes your opponent turn sub-optimal as they had to play with less cards than they would normally play with.
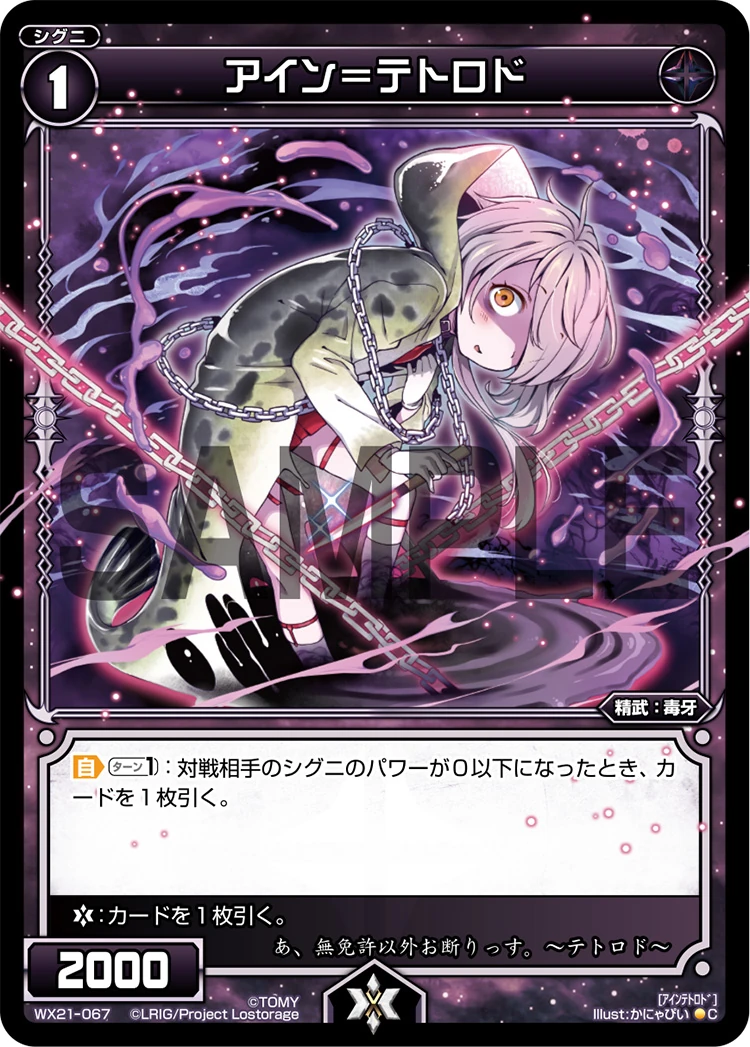
The fourth SIGNI is Ein-Tetrodo and her effect is as follows:
Auto 1/Turn: Whenever the power of your opponent's SIGNI becomes 0 or less, draw 1 card.
 Life Burst: Draw 1 card.
Her effect is very strong for a level 1 SIGNI, this makes her very relevant even towards late game, where card draws become even more important when looking for your next Jormugan or Daihouika. Combined with Hanare's Auto, you are looking at approximately 6 card draws across both your turn and your opponent turn.
This makes Hanare card advantage engine unparalleled in the current meta. You would be looking to proc her effects even during the early game using SIGNI such as Ein-Dagger or the spell, Toxic Spike to fuel more of your hand to prepare for the late game.
This makes Hanare card advantage engine unparalleled in the current meta. You would be looking to proc her effects even during the early game using SIGNI such as Ein-Dagger or the spell, Toxic Spike to fuel more of your hand to prepare for the late game.
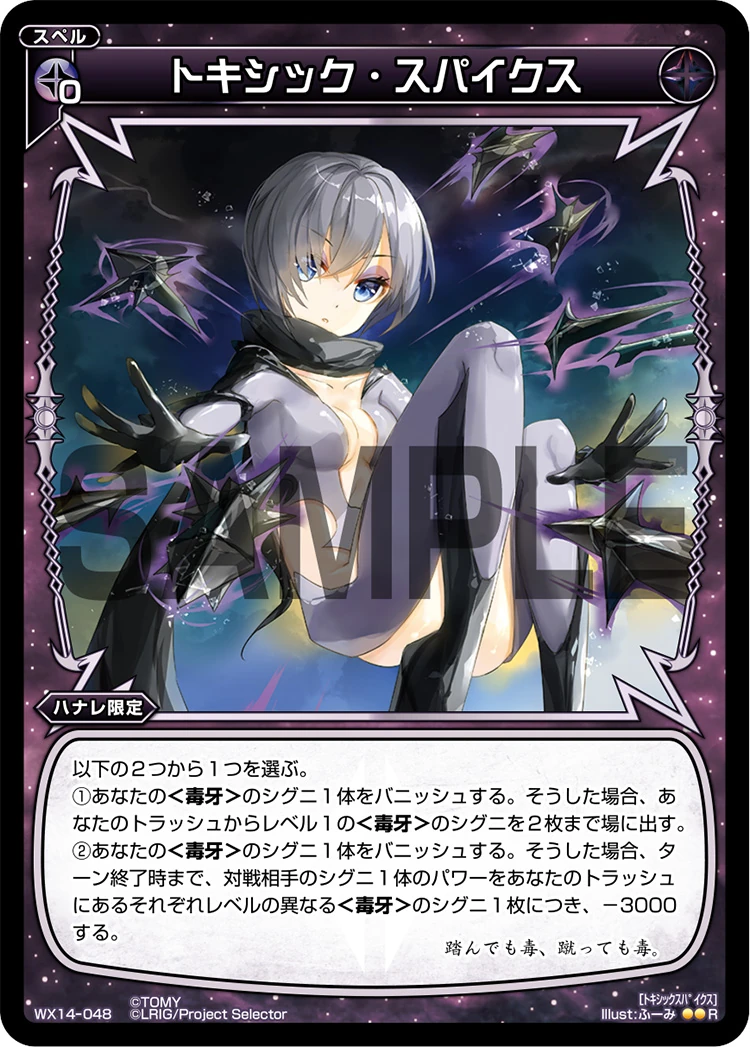
The fifth card is a spell, Toxic Spike and its effect is as follows:
The first effect allows you to stabilize your early game while gaining ener, or even getting multiple procs of Ein-Dagger in the early game and clearing the opponent board early and gaining advantage through our best level 1 Ein-Tetrodo.
While this card is very good in early game, you may not be able to consistently draw it. However, fret not, her main usage is to clear sticky SIGNIs that has SIGNI immunity without investing in our Hanare's Exceed 1 to clear them or even those with both SIGNI and LRIG immunity. This works against SIGNI such as Contempora or Tinbe, which can be very annoying to deal with. This spell is also very useful if you have a sudden need for ener since it gives a +1 ener at the least.
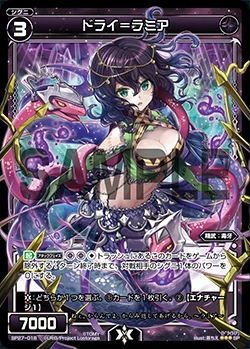
and Lastly, Drei-Lamia and her effects read as follows:
Action Attack Phase
This is the SIGNI that makes Hanare, an already defensive juggernaut, to one that is almost unkillable. Lamia is also very good in the mid-game, when your opponent is trying to push damage using SIGNI that has double crush or a restand ability such as Swingride. Just by excluding Lamia, you are able to stop their offense and even trigger Ein-Tetrodo draw 1 effect.
She also shines during late game, for example, against Tawil, which boards 2 Shemyaza, you are able to kill 1 of them using Carnival -K- skill and kill the other with Lamia's effect and since boarding 2 Shemyaza requires quite a bit of resource investment from the Tawil player side, you should have an advantage against them since you are running 3-4 Lamias.
She also shines during late game, for example, against Tawil, which boards 2 Shemyaza, you are able to kill 1 of them using Carnival -K- skill and kill the other with Lamia's effect and since boarding 2 Shemyaza requires quite a bit of resource investment from the Tawil player side, you should have an advantage against them since you are running 3-4 Lamias.
Strengths, Weaknesses and Match-ups, while comparing to other Meta Decks:
In the current meta, there are 3 relevant decks that are running Carnival -K-, those are Nanashi, Carnival and of course, Hanare. What Hanare have that stands out against those 2 other decks are insane card advantage and endless stream of board clear. Against Carnival and Nanashi, Hanare is definitely favoured in those matchups due to her card advantage and hand discard, affecting the other 2 decks ability to play the long game.
Also, as compared to Carnival ability to spawn SIGNI to the field, Hanare and Nanashi have it way easier since both are predominantly black decks and the cost for Code Anti Mage is way easier to be fulfilled and pais as compared to Carnival, which relies on Zirconium, that has a way stricter cost which requires 10 different names of SIGNI to be returned to the deck.
Also, while Hanare has a very easy way to clear the board, she tend to give a lot of ener to the opponent through banishing SIGNI, in contrast to Nanashi which is able to deny opponent their ener by trashing their banished SIGNI instead.
Then, what does Carnival have over Hanare and why is Carnival being played a lot more compared to Hanare in the current meta ?
The answer is Carnival being favoured in the match-up against Become You Tama, a very popular deck in the meta right now. While Hanare has a quite disastrous match-up against it even after teching certain ARTS against her.
How is Carnival, a control based level 5 deck able to defeat Become You Tama though? Well, the answer deserves another article by its own.
Thanks for reading this article and see you next time.
Sunday, July 14, 2019
Playing along with your burst
Luck isn't completely non-existent in this game however. One major luck factor in this game is the infamous Life Burst mechanic. Similar to Duel Master's Shield Trigger ability, Life Burst are triggered whenever your life cloth gets crushed and the crushed card has a burst effect on it.
With that said, one may just assume bursts are just a matter of luck and not regard it as much. But the truth is, it is possible to play along with your bursts, factoring in them while you plan your defense.
Take for example the above scenario, your opponent have 2 Ammolite with double crush on them and a single crush Perry, while you do not have a single SIGNI on field.
 |
| Field after using Select Happy 5 4th effect |
 |
| Field after using Select Happy 5 5th effect |
Opening Select Happy 5 and selecting its 4th or 5th effect would help you stop a total of 2 damage in, so it seems like there isn't any difference selecting either effects.
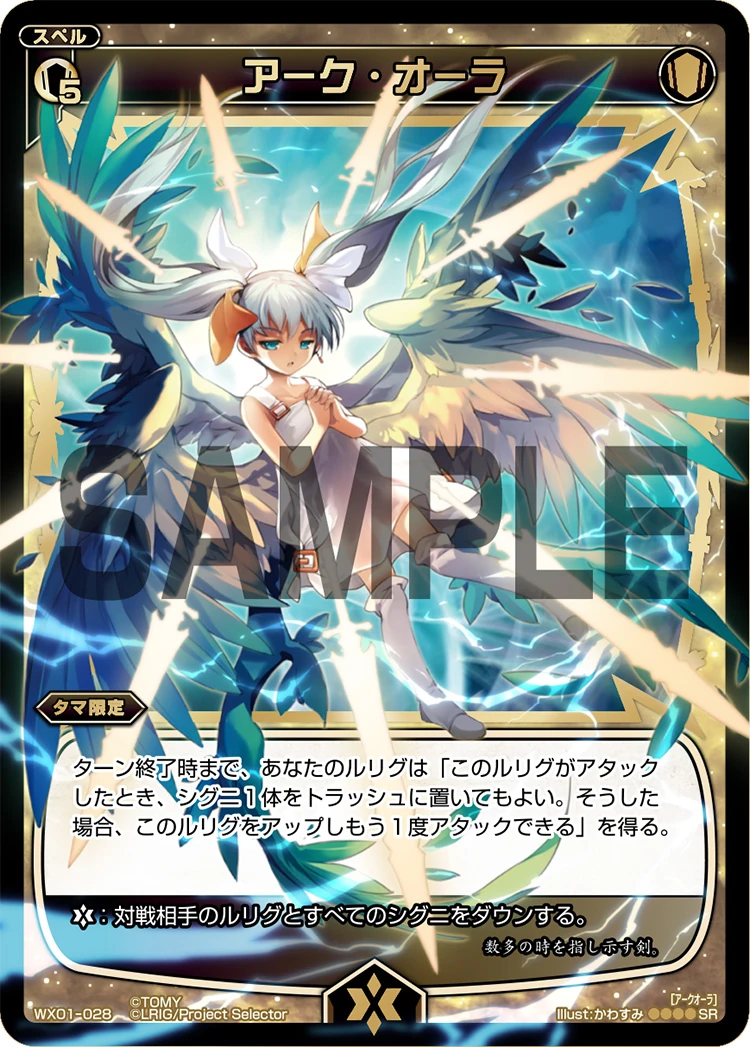
But what if you were to factor in burst such as Arc Aura or Archimes? If your first life cloth is actually something similar to those burst, you could potentially stopped an extra life cloth from being crushed.
Another example would be the above picture. It is Piruluk's turn and the yellow arrow shows the attack the Tama player will receive if not dealt with. Tama can use Select Happy 5 4th effect to stop one of the SIGNIs attack, receiving 2 damage in total.
However another option would be to salvage a guard using Select Happy 5 1st effect, this way although the total damage would still be 2, if in the event Tama manage to burst a SIGNI, say Pricas for example, then the total amount of damage received will be reduced to 1.
If Tama bursts a Servant O4 instead, the guard salvaged via Select Happy 5 can also be brought over to next turn, making it a win-win situation where you didn't waste an ARTS when you could save it by using your burst (Although in this situation, chances are your guard is going to be discard by Piruluk).
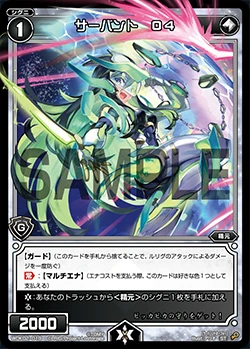 |
| Servant O4, one of the most common burst card in Key Selection |
So as you can see, playing with your bursts can help you survive longer. A very important skill here is to fully memorize what burst does your deck have and always think through the different situations when defending; what happens if there is a burst, what type of burst or whether it is possible to chain combos with a particular burst. Even a burst as simple as a draw 1 can help you draw into the guard you need to save yourself!
Special thanks to Illumis and NEET for pointing out and checking through this article!
With that, see you next time~
Saturday, July 13, 2019
WIXOSS PARTY @ TTZone (Hougang) 13/07/2019
Labels:
Key Selection,
Tama,
Winning Decklist,
WIXOSS PARTY
Wednesday, July 10, 2019
Surprise! Losing from the unexpected
You have set up the perfect field, your ener and hand is superb, no matter what your opponent does, he will never break through your rigid defense. You still have life cloths and you can afford to take your opponent's attack,
then it happened,
a surprise attack that you failed to realize, causing you to lose the game.
Today we will be looking at some of these possible SIGNIs that can end you without you realizing.
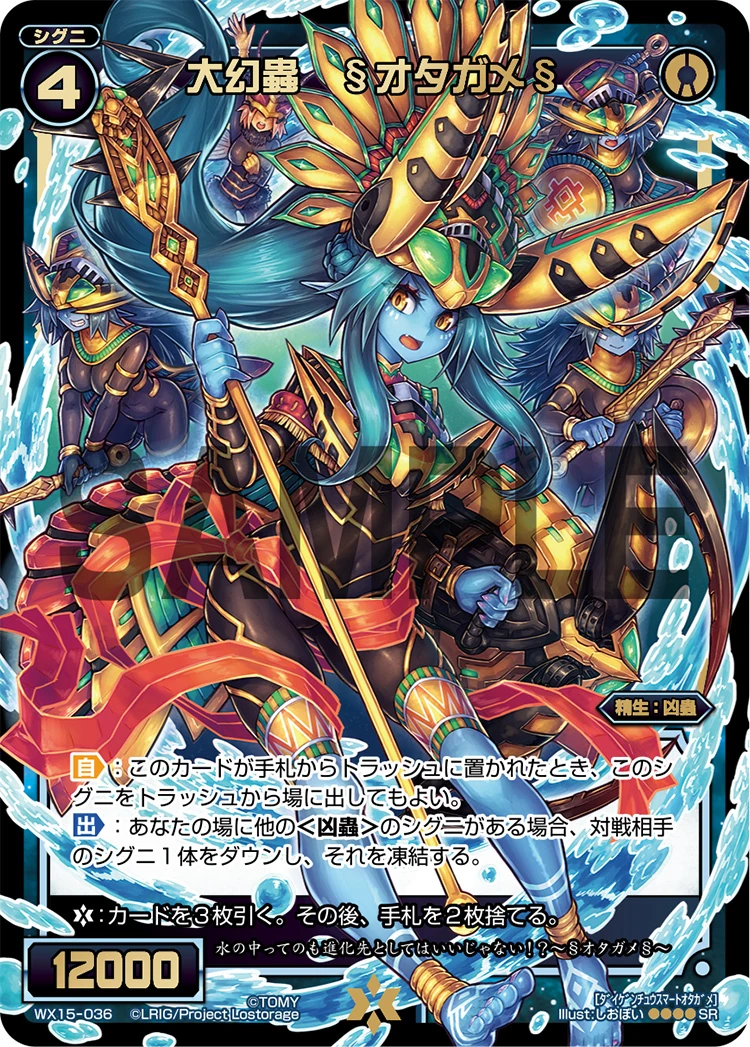
Otagame
Commonly seen in: Piruluk
Extremely famous during the Lostorage Era, Otagame often appears out of nowhere from using Daihouika's effect, making opponent take a damage they thought they have stopped. Hence to fully stop such incidents from happening, the opponent has to either stop the attacks without removing any SIGNI on the field or all SIGNI.
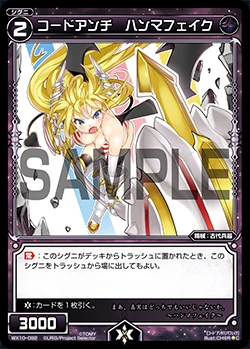
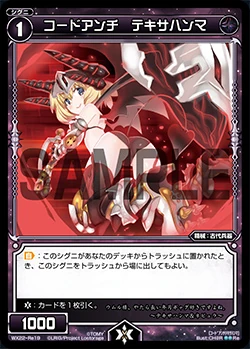
Texahammer/Hammerfake
Commonly seen in: Alfou
Another 2 sneaky SIGNI, it pretty much has the same situation as the above -mentioned Otagame-Daihouika, either clearing all their SIGNI or stop the attacks without removing any SIGNI. The trigger SIGNI is most often Alfou's signature SIGNI, Sayuragi but can also be done in other LRIGs like Umr using Nyarctho.
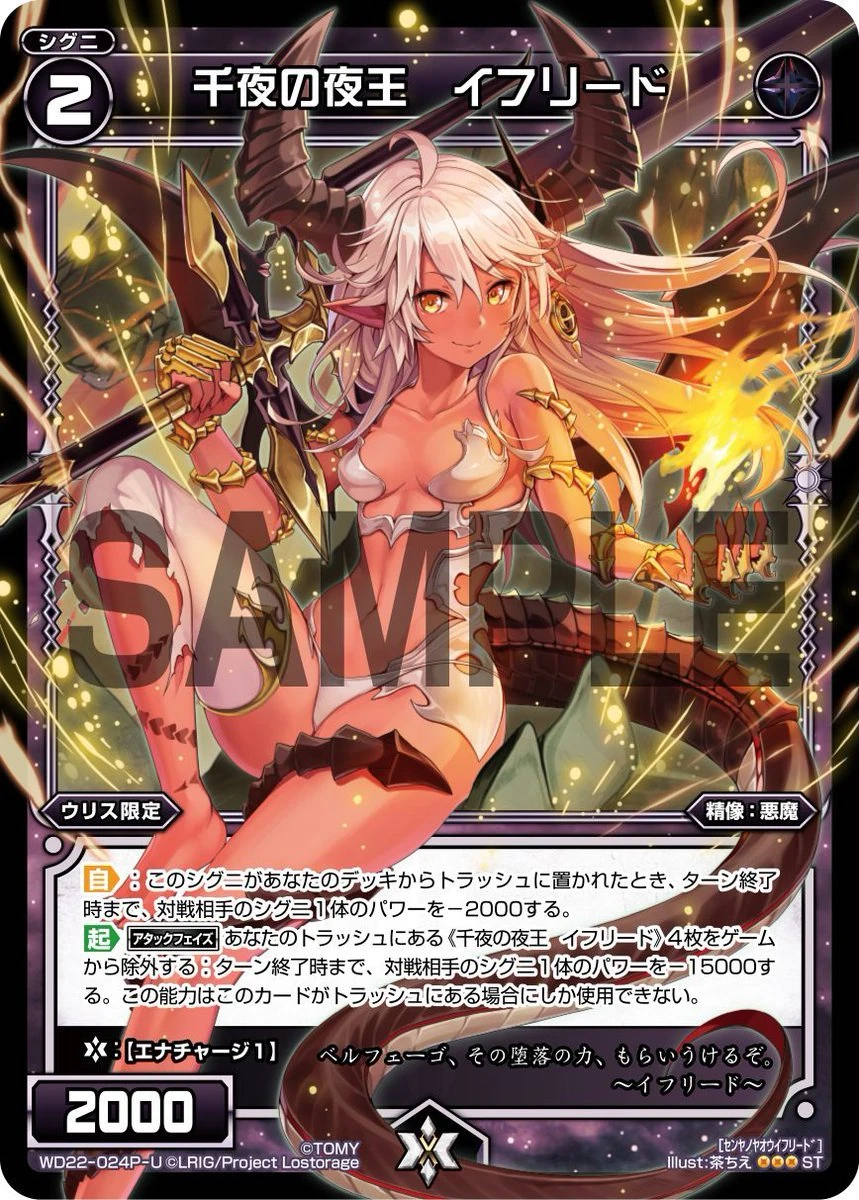
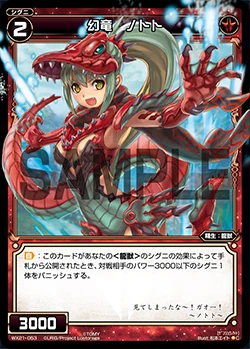
Ifrid/Nothoto
Commonly seen in: Alfou and Yuzuki respectively
One common blind spot players tend to have is that they assume when a SIGNI has an 'on-attack' effect that opens 1 SIGNI zone, it means only 1 SIGNI zone would be opened.
However that isn't entirely true as these SIGNIs condition to open SIGNI zones may be chained with other card effects to clear an ADDITIONAL SIGNI zone, surprising the player and ending them.
One common example is Sayuragi's 'on-attack' effect, milling out 1 or more Ifrids which can open another SIGNI zone, allowing an attack you thought that could not bypass your SIGNI to happen. Another example is Nothoto in combination with cards like Dinos and Guetzal in Yuzuki 3.
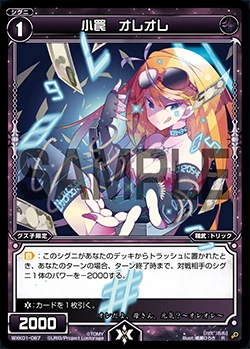
In fact such situations also exist in Key Selection, cards like Oreore can be chained with other effects like J Ripper to open extra holes against unsuspecting opponents. It is always wise to carefully consider each SIGNI attacks while responding.
Kaizuka
Commonly seen in: Decks that can put SIGNI from trash to field during attack phase (AKA many decks)
While Kaizuka is often seen as a defensive SIGNI, she can also be used offensively, allowing the player to call her out when a SIGNI is called from trash to field, creating a surprise attack to destroy your opponent. Such SIGNI includes Otagame and Nihoningyo.
As usual, such opportunities are not possible if you clear the opponent's entire field or stop their SIGNI attacks without removing them (such as down or giving 'cannot attack').
Playgrounds
Commonly seen in: Spinner, Tama, Aiyai and Guzuko.
The most scariest one of all introduced here, sometimes even the player using them do not know how many attacks can happen. If you do not think through your responses thoroughly, a single attack can easily turn the entire board into a new set of continuous attack, killing you from the unknown.
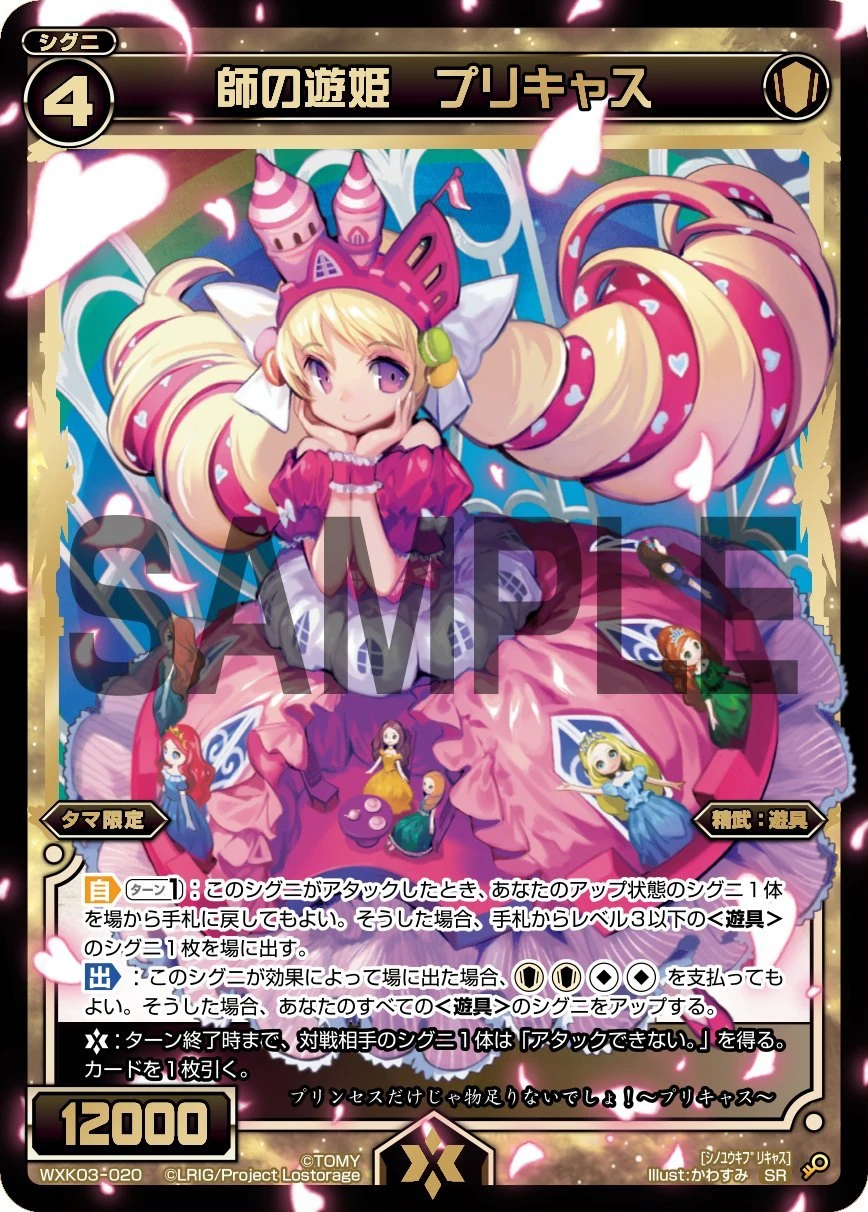
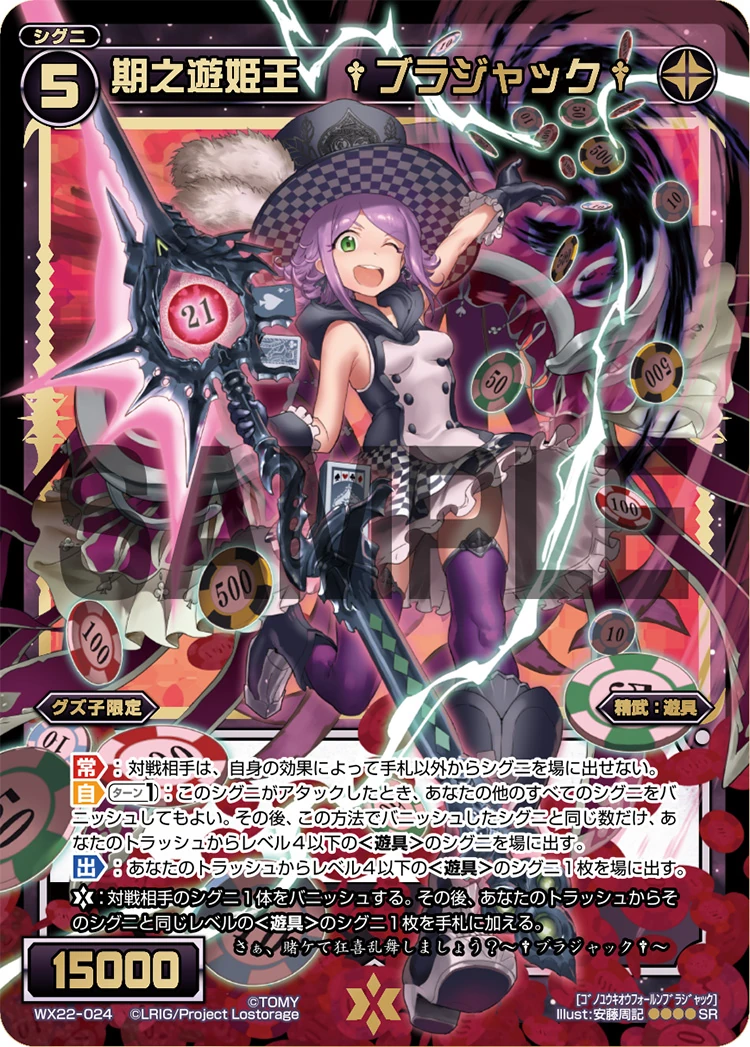
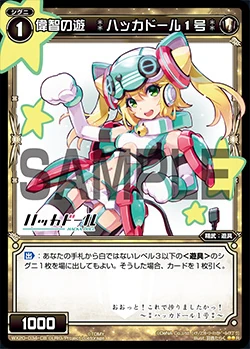
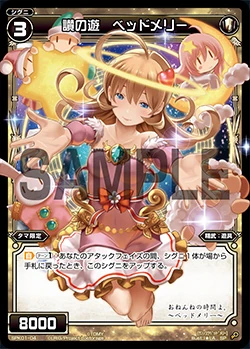
One possible interactions is calling Hacka Doll 1 from Blajack or Nihoningyo, which can be chained into one extra SIGNI from Hacka Doll 1's on-play effect. Another would be hiding Bed Merry in hand and calling it to field by using Pricas's 'on-attack' effect to swap a standing SIGNI on the board with it. Seriously there are so many different interactions playground SIGNIs can make that listing all of them here would just flood the article (even I doubt I know the full extent of playground's possible combinations).
Conclusion
 |
| When you die to the most random attack of all things. |
Really, it is important to always treat every SIGNI with caution and think through thoroughly before deciding whether to let an attack in or open the appropriate response to stop those attacks.
Usually if you are unsure whether your opponent can open extra SIGNI zones or get in an extra attack through such SIGNI effects, determine whether your life cloth can take the hit if he does have such effects. This would allow you to reach a win-win situation where if he do not have such effects, you saved yourself from opening a needless response while if he did, you ain't dead!
Even if you died to such attacks, do not wallow in despair. Rather learn from it and remember in your head so the next time you faced something similar, you will be more than ready to take them on.
Hope this article gives you some insight into the different ways WIXOSS can be played. With that, see you next time~
Subscribe to:
Comments (Atom)


