Thursday, August 30, 2018
Sunday, August 26, 2018
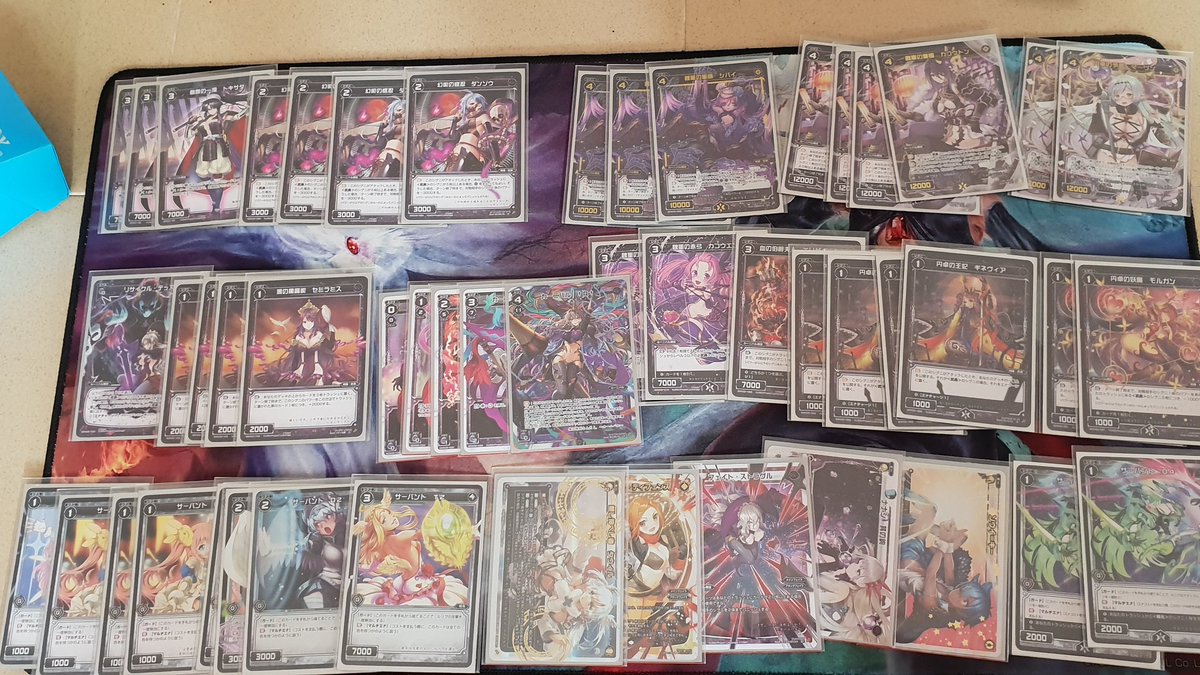
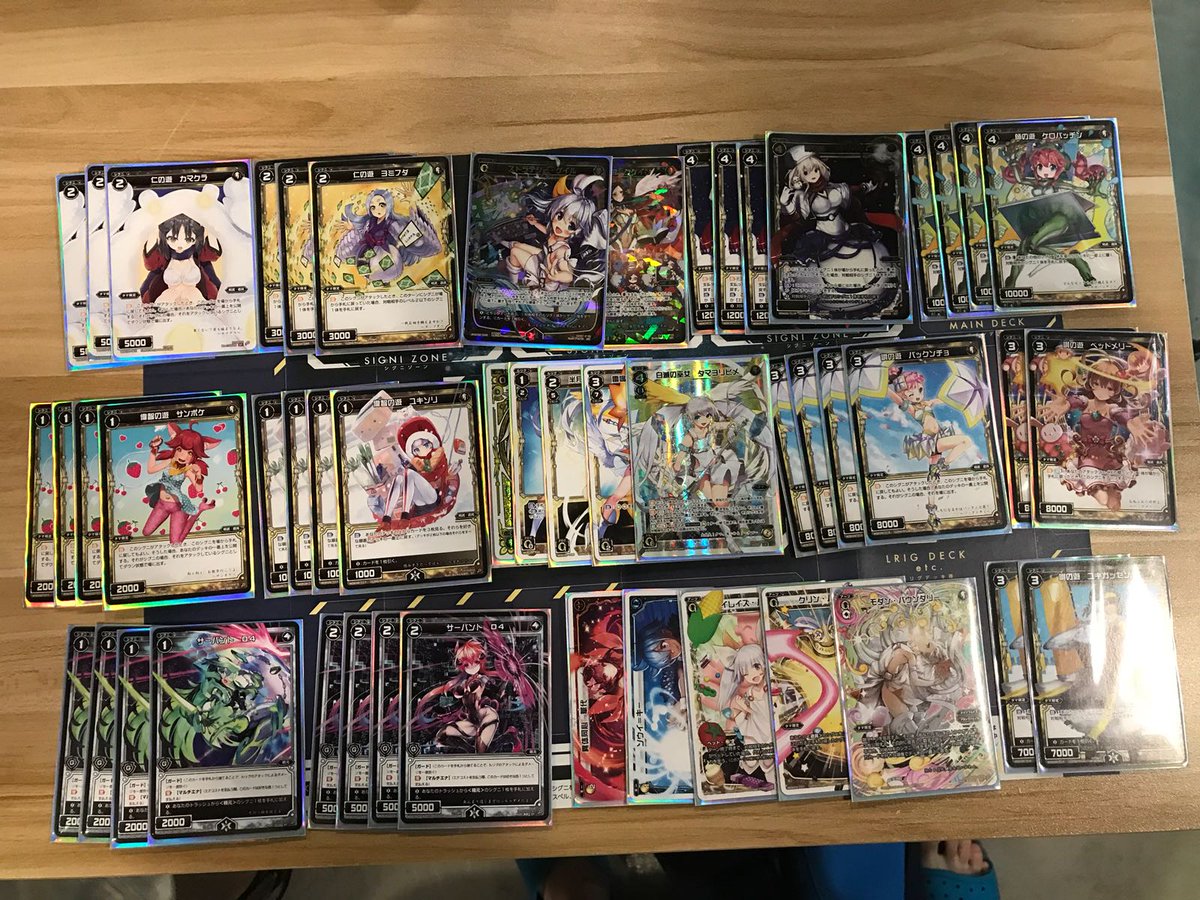
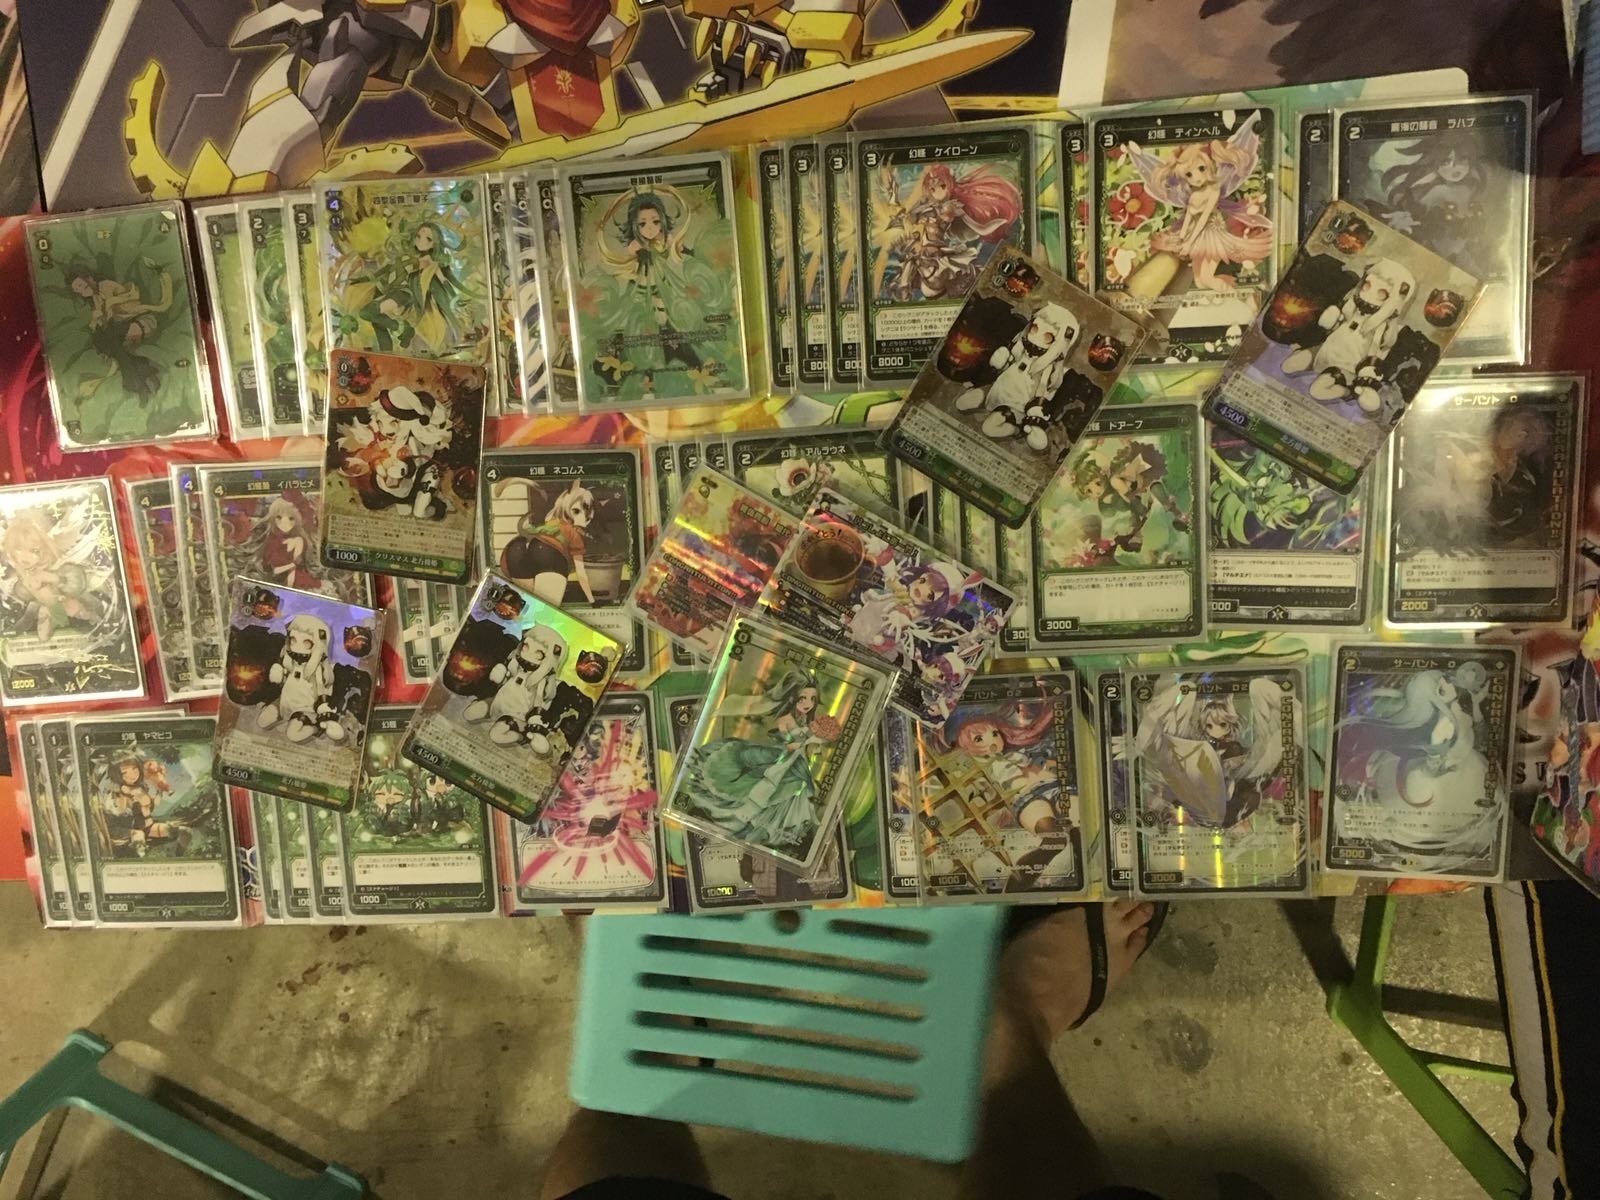
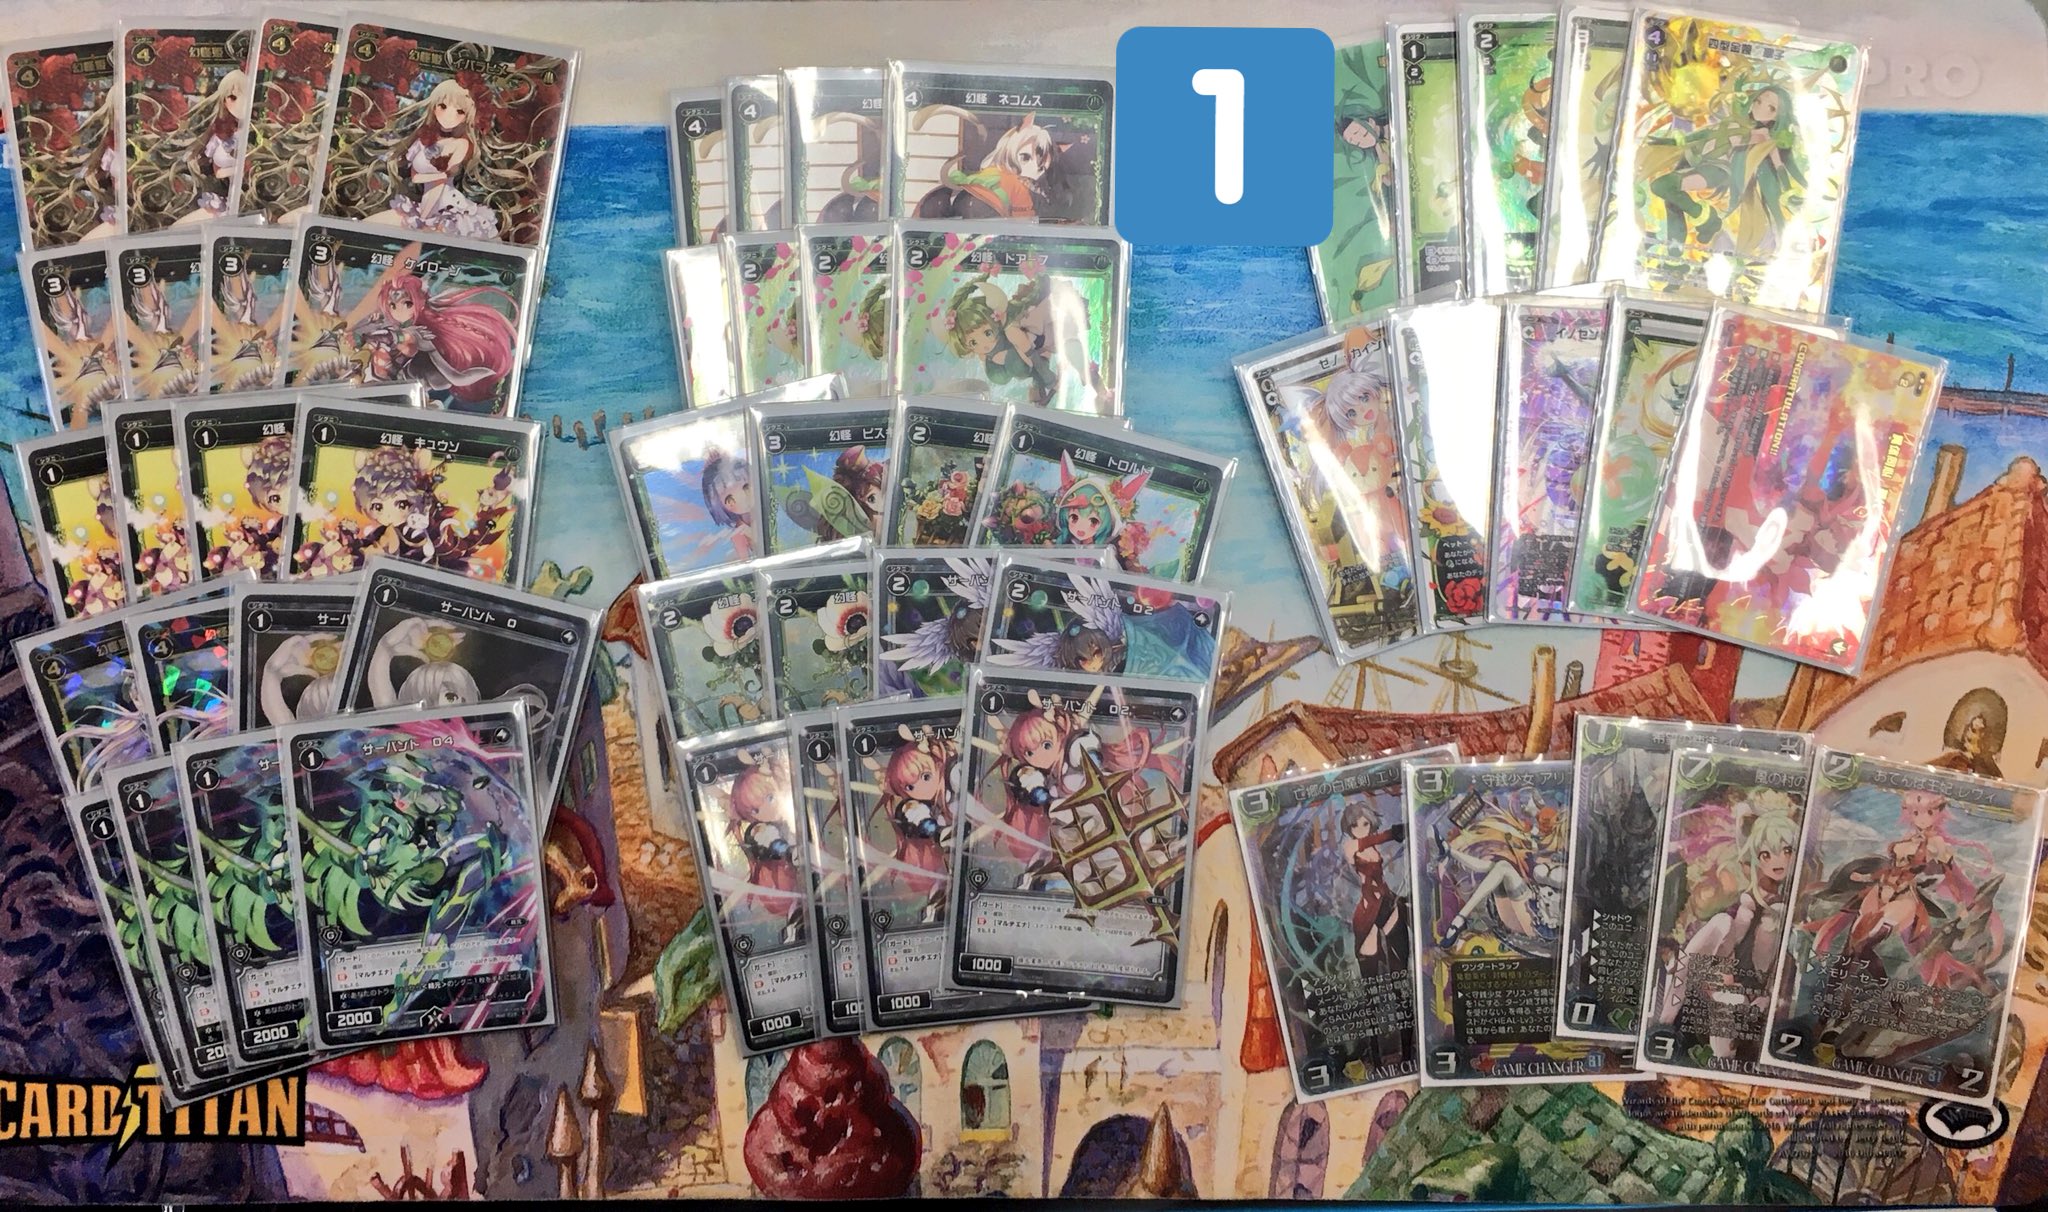
WIXOSS Beginner Tournament @ Sanctuary Gaming (Somerset) 25/08/2018
WIXOSS PARTY @ Excel CS 26/08/2018
Labels:
Key Selection,
Midoriko,
Winning Decklist,
WIXOSS PARTY
WIXOSS PARTY @ Sanctuary Gaming (Somerset) 25/08/2018
Labels:
Carnival,
Key Selection,
Remember,
Winning Decklist,
WIXOSS PARTY
Monday, August 20, 2018
WIXOSS PARTY @ Full Yen Trading (Yew Tee) 18/08/2018
 |
| 1st Place - Carnival †Q† |
 | |
|
Video of the match can be found below:
https://www.youtube.com/watch?v=5pkjnaO7-g0&t=
Labels:
Carnival,
Key Selection,
Midoriko,
Winning Decklist,
WIXOSS PARTY
Sunday, August 19, 2018
Guide for getting better at WIXOSS - Key Format - (Tips and guidelines)
 |
| Maybe you will feel like Akira after reading this post. |
(This is a guide for improving plays in the game, if you are a total beginner that want to start the game, I suggest visiting the Wikia's guide here.)
In this post, I will be going through a few tips and tricks on how to get better at the game. Starting from building the deck itself to the choices you make during the game. With a wide variety of generic cards in addition to the LRIG-restrictive cards, a myriad of decks can be created even if the LRIG is the same, making plays across different games varied. Hence by the end of this post, hopefully you may have a better sense of how the game flows and make positive plays.
---Deck Building---
Deck type
Firstly, building the deck. Depending on the LRIG you chosen, there may be more than one build available for it. For example the LRIG Tama, there is the normal bounce build and the life cloth heal build or for the LRIG Remember, there is the standard Achimes-Nobel build and the Mirurun Key UNFORGETTABLE build. It is up to the player's preference in selecting the build.Generic SIGNIs
Since there are quite a few generic cards across the different colors, one can use some of these cards in order to make up for the weakness or abuse the strength of the LRIG they chosen. Such examples can be seen in many different decks:
- Tama decks using Rahab to take advantage of their own rebouncing SIGNI's hand advantage engine.
- Piruluk decks using Fitru or Yamigane to improve their ability in opening SIGNI zones and threatening damage in.
In addition to helping the deck, most players uses these different colored cards in order to run ARTS or Keys that they would otherwise have a hard time paying out its ener cost.
 |
| Ril deck that plays PRAYING in order to cycle hand faster, trigger "On discard" Effects more consistently and use as blue ener for Don't Leave Me. |
ARTS and Key
In most cases, the ARTS and key you choose to run should help out with the problems your deck faces against.
Feel like your deck lacks aggression? Maybe try playing ARTS or Key that open SIGNI zones like Hanayo key.
Prefer not giving your opponent ener? ARTS like Don't leave me or Keys like Piruluk key may be a good choice.
Think you don't have enough hand? Soui Key or Ril key may just do the trick.
Want to play multiple different colored ARTS without changing much of your main deck? Anne key can help you with it.
The important thing to note when choosing what ARTS or Key to play are the following:
- Is the choice of ARTS/Key easy for me to pay out? (in terms of ener cost or ener color)
- Does the choice of ARTS/Key solve your decks problem while still providing enough defense against opponent's attacks?
- Can the chosen ARTS/Key be combined with your main deck to create even more potential plays? (Like Circle of transmigration healing a "Down and Freeze 2 SIGNI" to stop even more attacks or Grave awake calling Arc Gain to potentially block 3 SIGNI Zones.)
Of course some decks may feel that their main deck is already strong enough and need not any ARTS or key to back them up, in that case opting for a defensive LRIG deck lineup may be a good choice. Cards like Storm warning or Donna Key are useful in stopping attacks across multiple SIGNI zones.
 |
| Tama deck that runs Blue Jamming and Soui key for increasing their hand size. |
Anticipating and adapting to the Meta
Finally, when building your deck, it is always important to anticipate and adapt to the meta. Different locations may have different meta.
Location A may have lots of Carnival players with Nanashi Key but not location B. If you are playing at location A, playing cards low level cards that allow you to have high SIGNI power (Like 5k level 2 SIGNIs or SIGNIs which plus powers to itself when certain conditions are met) can help ensure that your field do not get totally wiped at level 2 against Nanashi Key. However if you are playing at location B, you may try playing SIGNIs with potentially stronger effects but low power since you are not at risk of getting a board wipe on level 2.
Also it is good to put in a few cards in order to fight against decks that may otherwise defeat you. For example, playing more colorless cards in order to fend of againt Piruluk TELOS or putting Yamigane into black decks to fight against SIGNIs that prevent Power minus such as Nemurihime.
Ultimately, your deck should be able to defeat the decks that you believe you have a high chance of facing off during tournaments and have trouble against.
 |
| Carnival deck that uses Sanson to fight against Nanashi key |
---Starting Hand---
When setting up the game, you will first draw 5 cards, followed by returning any number of cards you would like, shuffling the deck and redrawing the same number of cards you returned.
Depending on the deck you play, the type of cards you would want in your hand differs. If you are playing some combo deck, maybe keeping the combo pieces in your hand and reshuffling cards you think may not be of help like guards would be a good idea in order to increase the amount of combo pieces in your hand, allowing you to kickstart your combo fast and consistenly.
Generally an ideal starting hand would be filled with low leveled SIGNIs along with 1 or 2 guards. This is important as early game SIGNIs can help prevent your life cloth from getting crushed easily and helps you generate ener when your opponent banishes it.
You can also increase the chances of having Life-Burst in your life cloth by returning cards with Life-Burst back into the deck, since your life cloth is only placed after redrawing your cards. Possibly improving the quality of your life cloth. This is not recommended however if the card with burst is a card that can help you out with your early game but is played at low quantity.
 |
| An example of a good starting hand, one that is filled with low leveled SIGNI and guard. (Note that the deck in this picture is for all-stars, the other format in this game) |
---Ener Charging---
Ener is one of the most important part of the game as most of your effects will require it as cost. It is also one of the harder part of the games for beginners. Most beginners would usually ener charge their high level SIGNI away without thought. Some may forget to even charge or overcharged their ener. This section will cover on tips like when to charge or what to charge during your ener charge phase.
Early game
Obviously for most players, without a doubt they would just charge away their high-leveled SIGNI since it is useless in the early stages. However some consideration should be taken note before actually going through with it.
Certain decks may play very little retrievals that charging your level 4s away now could potentially hurt your late game offense as players may have problems drawing into their level 4s. This is especially true when your level 4s gets charged or milled away due to an effect. For decks like guzuko, you can freely charge away your J ripper since you have Insider Salvage, but for other decks like Piruluk, charging away your Shutendo now may completely destroy your late game.
The type of level 4 to charge in also depends on how effective it will be during late game and how many of a level 4 have already appeared. For example, when given a choice between Keropachin or Arc Gain, if the player prefers generating field advantage then keeping Arc Gain would be good, but if the player wants to have a guaranteed bounce, Keropachin would be better.
For some players, they may not even charge and opt to discard the level 4 for their level 1 LRIGs effect (to gain coin), conserving their hand for the later half of the game.
Late game
When you reach this stage of the game, you would usually charge in cards in your hand that have not much use during late game. However it is always good to note whether you have enough hand to do this, placing SIGNI on the board is more important as it forces your opponent to spend their resources in order to threaten a damage in. If you feel that charging in one card could hurt your offense due to a lack of cards in hand, it is recommended to just not charge at all.
It is also important to note what kind of SIGNI zone clearers does your opponent have. If you know that they are playing very aggressive and banishes your SIGNIs during their main phase, you can choose to conserve your hand by not charging since you will still gain the ener when your opponent clears your SIGNI.
Finally, the last consideration one should take note of is whether your ener can pay for the ARTS or Keys you have to defend. Keeping a guard in your hand may seem like a good play, but if charging in that guard could allow you to pay for Don't Leave Me to ensure you survive through your opponent's SIGNI attack, that may be the better play.
---Board Placement---
This section is probably the easiest the master and its pretty logical when you think about it. However beginners often make this mistake, hence I will cover a little bit of board placement to help out with improving beginner plays.
Basically:
SIGNI that cannot open SIGNI zones -> place in front of open SIGNI zone
SIGNI that can open SIGNI zones -> place in front of an occupied SIGNI zone
Of course this is just a guideline, in the event if you found a better play can be made but does not adhere to this guideline, then go ahead and do it. Maybe you would want to trigger a SIGNI's "On-attack" effect to generate ener for you, in that case placing it in front of an occupied SIGNI zone would discourage your opponent from clearing it as it is not a threat to their life cloth.
It is also good to take note whether you are over-committing to trying to deal damage into your opponent. For example, if your opponent has no life but only has Donna key left to defend, putting a single SIGNI that can threaten damage in is better than putting 3 SIGNI that can threaten damage in, since your opponent is more than likely to open Donna key to defend eitherways. This would allow you to save more threatening SIGNIs that can potentially end the game next turn.
---Attacking---
Probably the hardest part to master in the game. Not attacking a single SIGNI may let your opponent get what they want easily yet blindly whacking would give your opponent enough ener to otherwise defeat you. There are many considerations one needs to take note of, hopefully in this section I can cover a few guides on when to attack an opponent SIGNI.
Is the SIGNI threatening to you or does it give your opponent advantage?
Certain SIGNI such as J ripper or achimes may be a threat to you as they can threaten a damage through. As such, clearing these SIGNI would force your opponent to board a new SIGNI in order to deal damage to you, sometimes which they may not have. Other SIGNIs such as Doarf may instead give your opponent more advantage, clearing these SIGNI may prevent your opponent from generating enough advantage to win the game.
Can your opponent afford to replenish their SIGNIs?
For example, your opponent is a Piruluk with 0 hand and did not trigger Catharsis. In this case, clearing your opponent's whole field will disrupt their plays as they can only rely on their top 2 draw during their next turn. Of course it is also good to note whether your opponent has MIRACLE in their trash, as it can help them dig into their deck to get the cards they need faster. Main thing to take note is that, if you believe your opponent do not have much draw advantage to allow them to board field, then maybe clearing their field would be ideal.
Does giving your opponent the ener disrupts your plays in return?
WIXOSS is such a game where the harder you hit your opponent, the opponent hits you back even harder. This is due to fact that by crushing your opponent's life cloth and banishing their SIGNI, your opponent would gain ener in return, allowing him to activate more powerful effects which in turn can destroy you back. Hence controlling how much you attack your opponent would be a good idea. One such example would be when fighting against Midoriko's Gamma Burst. If you went second and you know that your hand isn't good enough to refill your board on level 2, maybe not attacking your opponent at all can help prevent Gamma Burst from turning the tide against you.
What I have covered so far are just the basics. There are be many more consideration one needs to take note of, making it impossible to cover them all. Ultimately, one can only improve on this portion by playing the game more against different decks.
What I have covered so far are just the basics. There are be many more consideration one needs to take note of, making it impossible to cover them all. Ultimately, one can only improve on this portion by playing the game more against different decks.
---Defense response---
Finally the last section for getting better at WIXOSS. Responding to your opponent's threat. Generally, you would want to response when your opponent's attack are lethal, however with that said, opening your responses earlier may also be a good idea as it allows you to clear your opponent SIGNIs. There isn't really a set rule on when you should response and when you should not, only considerations.
Does stopping the particular SIGNI stops the whole combo?
Certain decks like Tama or Guzuko may have a required set up such that stopping one SIGNI or LRIG can disrupt their whole combo. Usually when that is this case, stopping these SIGNI can be effective and conserving resources as you would only use up one response to prevent 2 or more damage.
Is the opponent's SIGNI threatening to you but you have a problem clearing it next turn?
Maybe an opponent's SIGNI can potentially give you trouble over the game and your hand or field isn't good enough to take measures against it. In that case, using your ARTS or Key to clear it would be a good idea as it not only allows you to conserve life, it also allows you to clear off threats to you, killing two birds with one stone.
Does your opponent play any immunity SIGNI or LRIG?
Of course this requires you to predict and observe what SIGNIs your opponent would have, however certain SIGNIs are probably a staple in the deck such as Captain Hook in Piruluk, allowing you to prepare to fight such cards just by looking at the foe's LRIG. Once you have a rough idea on what immunity does your opponent have, it is a good idea to open your responses that may not work against those immunity whenever you have the opportunity, allowing you to buffer damage done to you and take damage from these immunity SIGNIs or LRIG when you need to.
One popular ARTS in this format is Innocent Defense, allowing players to not only defend but also give their SIGNI "Cannot be banished". Hence players should take note of this and never leave themselve at 0 damage with no other alternative response.
---Ending---
Well that is all. Im sure there are a lot more parts of the game which I have not covered that can influence how the game goes about. But hopefully with the few points covered here, you would feel like you have gotten better at the game and feel confident in defeating your opponents no matter who. With that, thanks for reading this article and happy battling!
Subscribe to:
Comments (Atom)


